Get started with Bladed Next Gen
Note
In order to run simulations in Bladed Next Gen, you will need to request a licence. While waiting for your licence, you are still able to set up Bladed Next Gen and perform tutorials to write and modify the Bladed Next Gen inputs.
Follow these steps to setup your Bladed Next Gen software, Bladed Next Gen Python Models APIs and other components. The current Bladed Next Gen versions are meant to only be tested in Windows OS.
1. Install Bladed Next Gen Software
Download and run the Bladed Next Gen Windows Installer (0.5.1).
Usually IT policies prevent the running of .exe files from the web browser. Run from the file browser by opening the folder where the installer was downloaded and double-click the file. If this is blocked, try right-clicking on the installer and choose 'Run as administrator'.
You should restart your computer before using any of the components of Bladed Next Gen as they might not be fully updated into your User Variables path. Logging out of your user account and then logging back in may also be sufficient.
A new 'Next Gen' version of bladed.exe will be installed on your machine and found inside the bin folder in the installation location you have chosen.
1.1 Check if Bladed Next Gen is ready to use
To check if the Bladed Next Gen components are ready to use you can just type the name of the component you want to test in your command line terminal:
- Open a new terminal window (
<windows-start-menu>-> typecmd-><enter>)
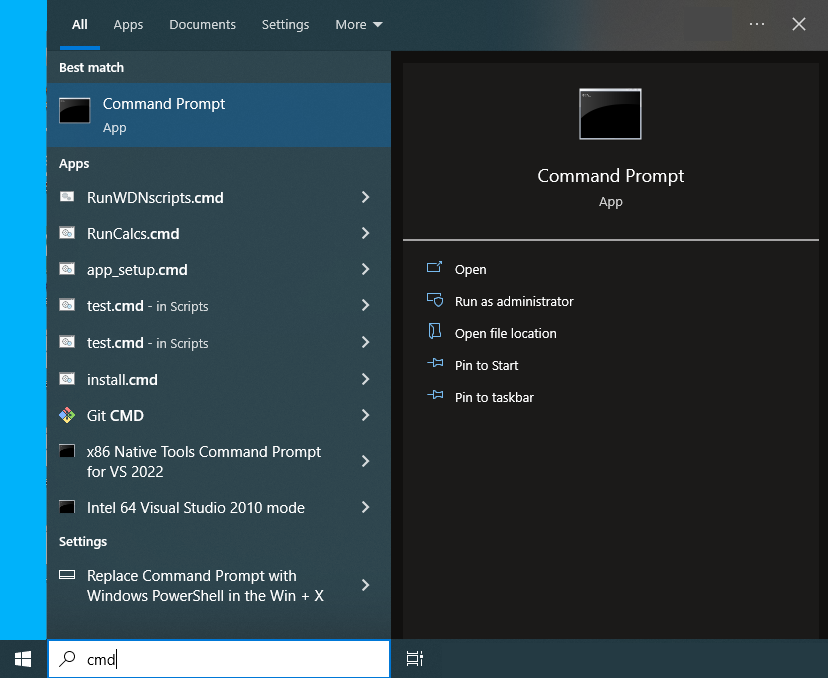
- Type
bladedand press return.
If you see the Bladed start message then you are ready to use the Bladed Next Gen components.
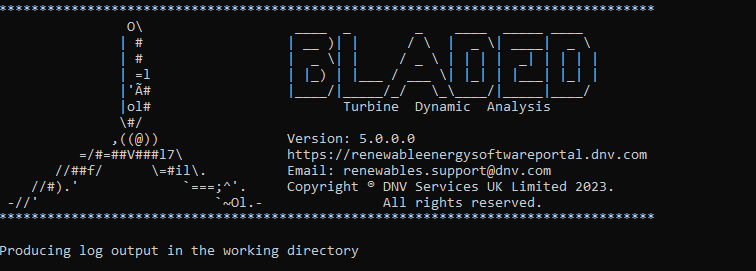
bladed.exe command line start screen.If the outcome is the following error message:
'bladed' is not recognized as an internal or external command,
operable program or batch file.
You need to either restart your computer or log out of your user account and then log back in.
2. Setup a Python development environment for Bladed Next Gen
2.1 Make sure you have Python 3.9 to 3.12 installed
The Bladed Next Gen Python APIs are compatible with Python version 3.9 to 3.12 versions. Both 32-bit and 64-bit Python versions are supported. If you already have a compatible version of Python installed you can skip to step 2.2.
Download the latest version of Python from python.org/downloads.
Run the installer and make sure to select the option 'Add python.exe to the PATH' (see image below). This option is turned off by default so you need to activate it!
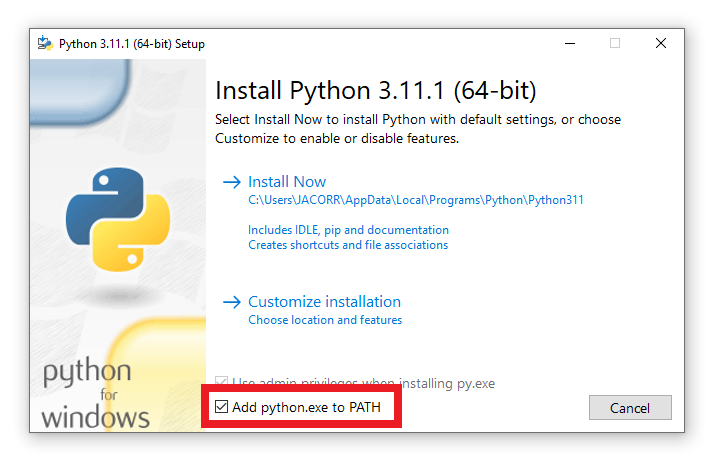
Choose the default ‘Install Now’. This means Python is installed for a single user and avoids requiring administrator rights when installing Python packages.
Once setup is successful, you can close the installer dialog box.
2.2 Verify the default Python version
Some users may have multiple versions of Python installed, and it is important to be aware which versions exist, and which is the default one.
Open a new terminal window (
<windows-start-menu>-> typecmd-><enter>)Run
python --version

- If this version is below 3.9, and you have installed a version 3.9 to 3.12 as explained in the previous section, you need to find where you have installed the Python version you need.
- If you have installed Python just for your windows user (recommended) then the location of your Python installations will be in
C:\Users\<windows user login>\AppData\Local\Programs\Python\. Inside you will find one or several folders calledPythonXYwhere XY is the version of Python. - If you have installed Python for all users then you will find it in your
Program Filesfolder in the C drive (either x86 or x64 depending on the version you installed)

2.3 Setup a Python Virtual Environment (Optional)
Depending on your team development process requirements you might need to share a common setup with the rest of your team. You might also want to make sure that you keep specific versions of both Python and installed Python packages.
To enable those requirements you will need to create a Python environment where you will install what you need to develop your specific project.
Real Python web page has a good tutorial on how to create a Python environment, what it is and how to work with it. You can find it in the following link.
To create a virtual environment you should move to the folder where you want it to be installed and use the following command: python -m venv <env_name>.
If your environment is called bladed_venv then the command will be:
C:\temp> python -m venv bladed_venv
2.4 Activate the Python Virtual Environment (Optional)
If you have setup a Python environment you will have to move to the folder where you have created it and activate it by using the command <env_name>\Scripts\activate.
Following the previous example, if your environment was created with name bladed_venv then the command will be:
C:\temp> bladed_venv\Scripts\activate

(bladed_venv) C:\temp>
Once activated the name of the environment will precede the current folder path. This will let you know if you are installing something in the environment you have created (when the name shows) or in your global Python installation (if no name is shown).
2.5 Install the Bladed Next Gen Python Interfaces
The Python interface packages are available on the public PyPi DNV repository for easier installation via pip.
The following steps are identical whether or not you setup a Python environment.
In your Windows command line (cmd), run the following command to install the Bladed input data model interface:
pip install --upgrade dnv-bladed-models
Run the following command to install the Bladed results interface:
pip install --upgrade dnv-bladed-results
If you get an error message that pip command is not available you will need to do the same process as you did for the Python executable and add it to the PATH. In this case, the pip.exe is inside the Scripts folder in the Python installation folder. If you are working within an environment the pip script used is automatically the one contained in your environment folder.
2.6 Install VS Code (Recommended IDE)
VS Code comes with an extensive library of extensions that users can add in to provide language support, development tooling and improve productivity.
If you would like to learn more about using VS Code to edit JSON, you can follow this useful tutorial for JSON editing with VS Code.
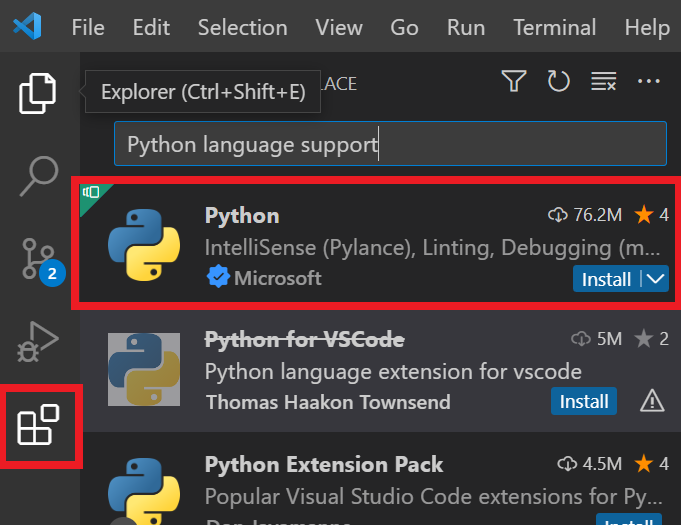
After downloading and installing the latest VS Code, open it and install the following from the 'Extensions Marketplace':
- Python language support:
2.7 Download and extract the Bladed Next Gen Samples
To follow along the Bladed Next Gen tutorials, you'll need to download the samples. Once downloaded, extract the sample files from zip file.
2.8 Initialize VS Code for Python and JSON interface
- Open the samples folder extracted in the previous step, in VS Code.
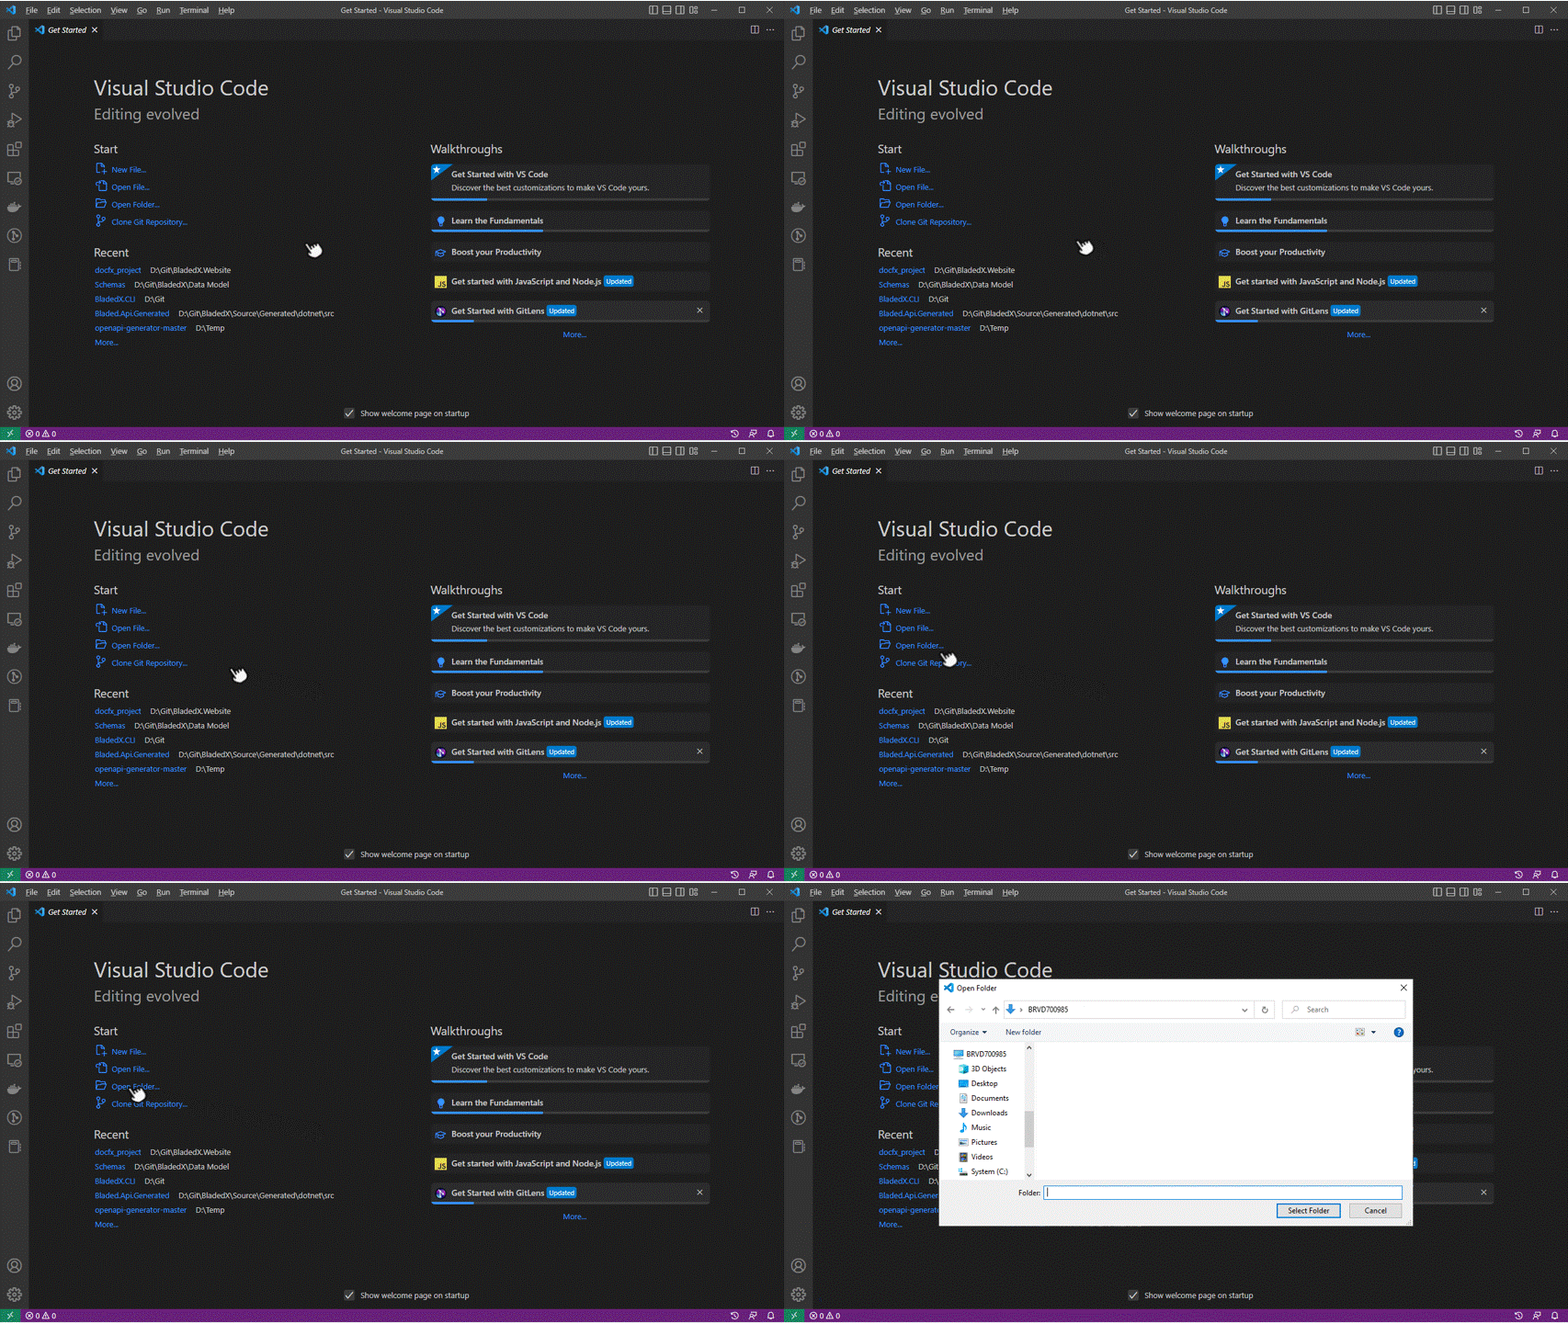
If prompted in VS Code, accept to install the recommended extensions for the best experience.
Open a new Terminal in VS Code:
View -> Terminal(or<ctrl>+'). The terminal will appear in a panel at the bottom of the window.
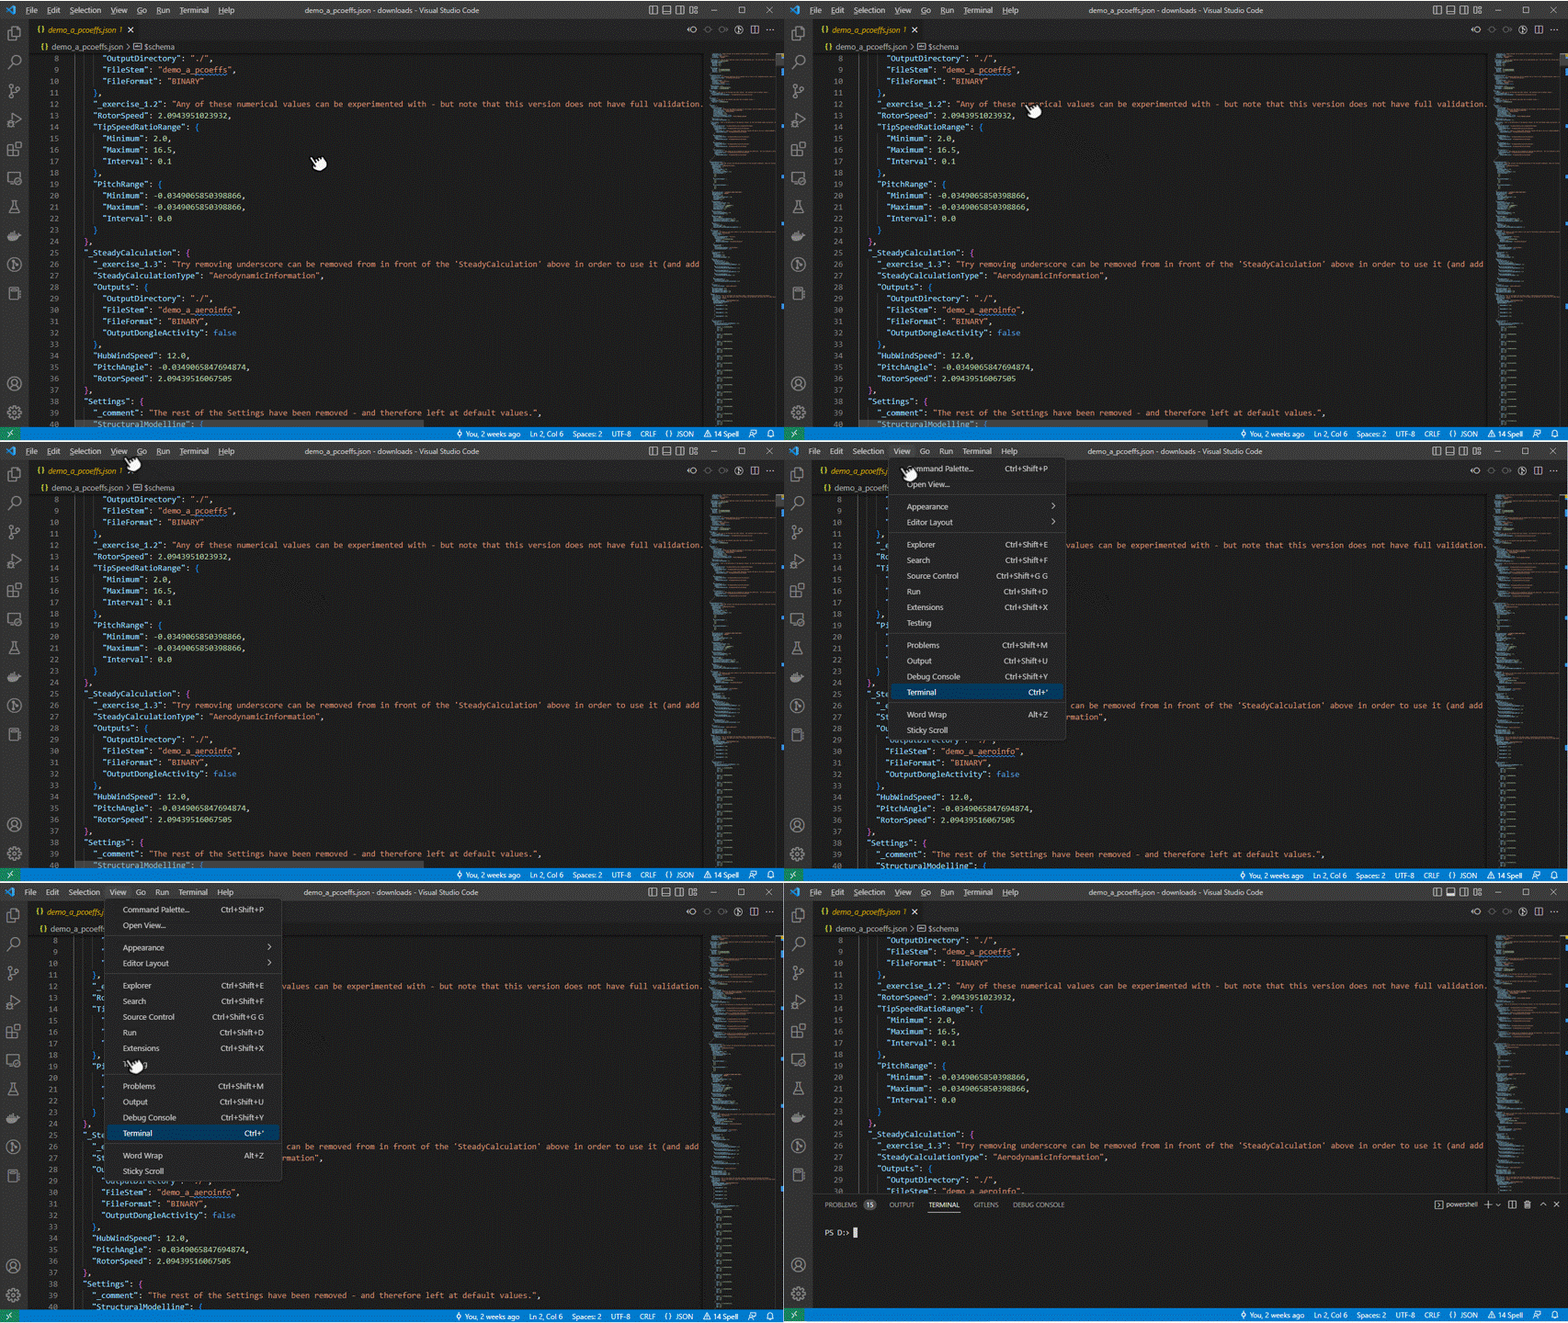
- Set the correct Python interpreter for VS Code. For that, first open one of the Python samples. e.g.
plot_blade_properties.pyso that you can see the Python version on the blue bar left bottom corner of your VS Code window. Then, ensure the interpreter is set to a version of Python from 3.9 to 3.12. Press the Python version at the bottom right of VS Code (see Figure 9) and set the Python interpreter (see Figure 10).

If you have set up a Python environment, this where you assure that VS Code is working within that environment by selecting the corresponding option as seen in Figure 10.
- Running the following command in the terminal will install all packages required to run the Python APIs and samples:
pip install -r requirements.txt
Note
Running pip install in the VS Code terminal does not install the packages in the VS Code interpreter selected Python version. If you did not activate the virtual environment, the pip install command will install the packages in the version you have configured in your system PATH. In the other hand, if you have activated the environment in your VS Code terminal, then the packages will be installed only on that environment and for its Python version.
- Verify VS Code is correctly configured byt running the script
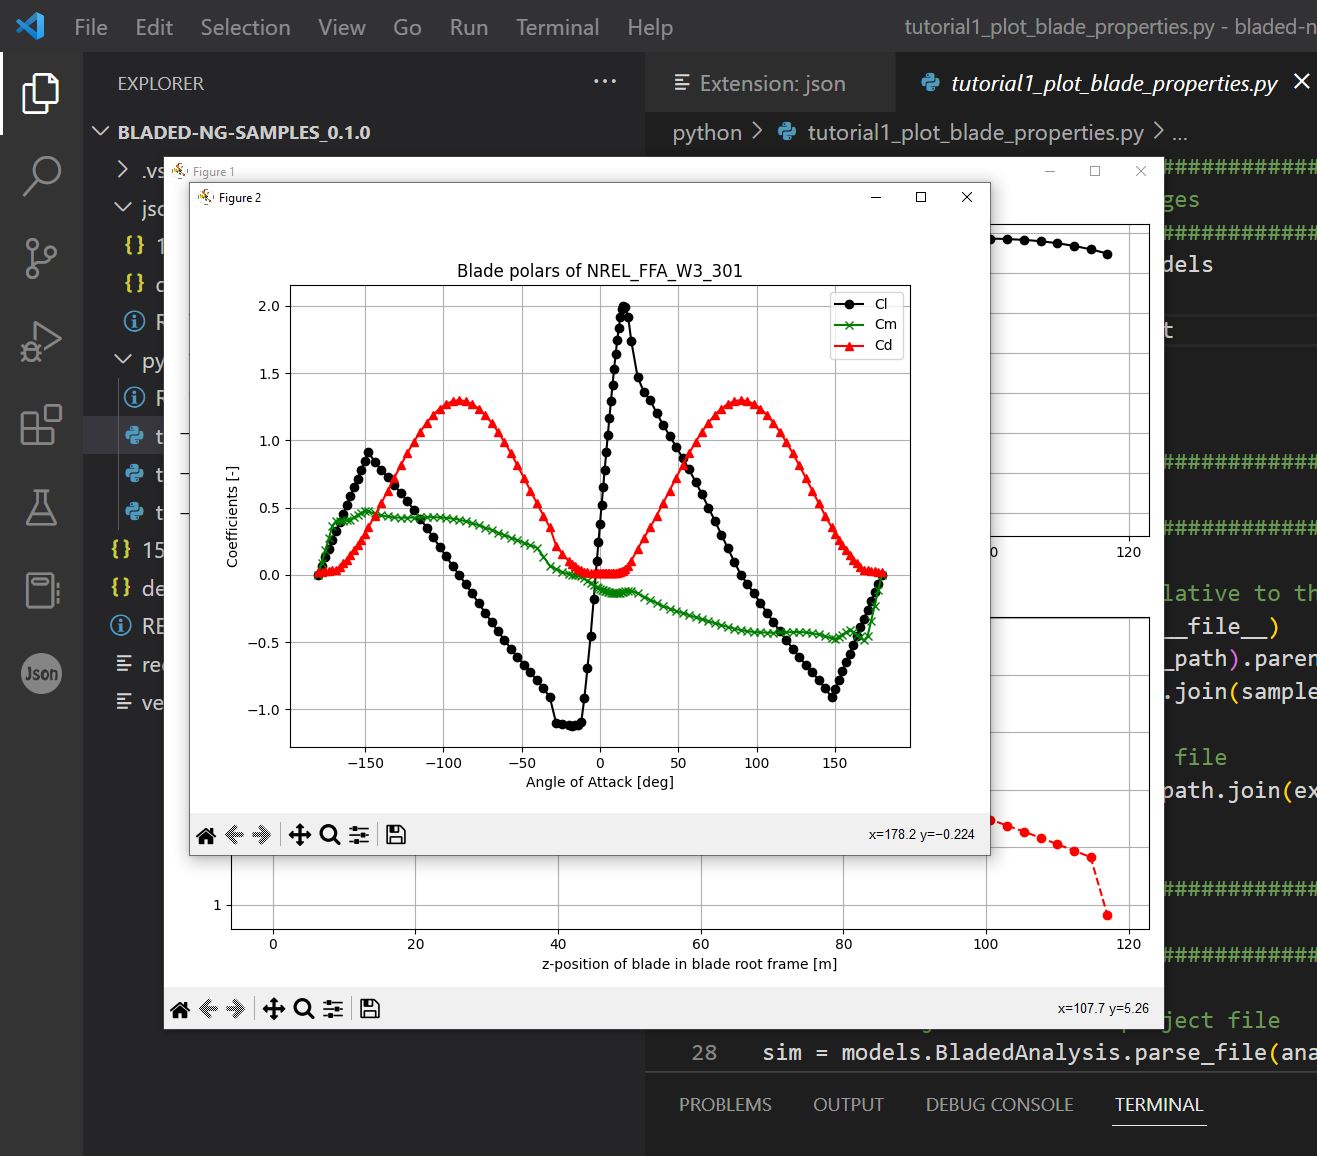
plot_blade_properties.pyby opening the file in VS Code, and pressing the 'play' triangle in the top right of the code pane. This should render graph plots if successful.
2.9 Installation Checklist
You have successfully configured your machine and VS Code for editing JSON and Python development.
- Installed Bladed Next Gen
- Setup a Python environment
- Python 3.9 to 3.12
- Verified the default Python version
- Installed Bladed Next Gen Python Models API
- Installed VS Code
- Downloaded Bladed Next Gen samples
- Initialised VS Code for Python and JSON interface

